Alaska (Attractions #1)

This is the first in a series of posts about locations and attractions along our route that we plan to visit.

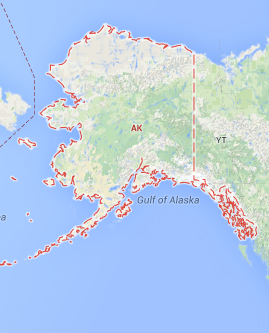
alaska map

Alaska – The Last Frontier

Alaska is the US state with the most wilderness. And, it doesn’t take long to feel the effect once you are there. Simply travel 1/2 hour out of any town and you will be left in the middle of a great expanse of land, with few signs to show man’s marks.

To help us plan the trip, we have been using “The Milepost” guidebook. It claims to be “the bible of North Country travel” and they are right if by that they mean it is a comprehensive and indispensable book! It gives mileage, attractions, and most importantly for cyclists, whether each town has a grocery store. : )

Around 10 years ago I traveled to and through Alaska via motorhome with my grandfather, father, and sister. Traveling by bicycle will be an entirely different experience. Here are a few highlights I’m particularly looking forward to…
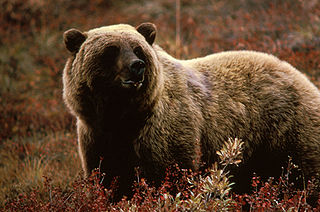
grizzly bear

I fully expect to see one of these bears – but hopefully from a safe distance! (Image: Wikimedia Commons)

Denali National Park – This is the third largest national park in the US. The park road meanders 92 miles into this massive preserve. Daisy and I are planning to spend 4 days in the park — two days riding in towards Wonder Lake and two days back out. There are a few nice hills to ride. Of interest is that the road turns to gravel past mile 13, and is open to buses only. However, since the buses don’t start running until May 20, any cyclists (that’s us!) will have the road to themselves — well, except for the bears, wolves, sheep, moose, and other wildlife! I expect we are guaranteed to see the wildlife, and at times up very close and personal. But don’t worry, we’ll have bear spray!

Fairbanks – This town marks the furthest point north we plan to travel on our trip. At almost 65°N, it is pretty far up there. We will arrive in late May, so will experience almost continuous daylight (plus a little twilight – no, not Twilight). We don’t plan to trek up to the arctic circle, as some cyclists do. Fairbanks is one of the few major towns in Alaska, and it will be a good place to stock up on supplies. Who knows, we may even stop by the university so Daisy can give a statistics talk!

top of the world highway

View on the Top of the World Highway from Google Street View

Top of the World Highway – This is the name given to the road that extends east from Chicken, Alaska to Dawson City, Yukon. The road is almost entirely unpaved and contains few, if any, amenities. In essence, this indicates it will cut through the wilderness. Although we will spend some time on the Alaska Highway, this less-traveled route will provide a different experience.

Haines and Skagway – These two towns are in the small part of Alaska that is squished between the Pacific Ocean and British Columbia. Connected by ferry, they allow us to travel to the coast and back inland without retracing our path. But more importantly, traveling to/from the area will allow us breathtaking views as we pass through the coastal range mountains. While we are in Haines, we will take a rest day without biking. We hope to take a fast boat to Juneau and hike to a glacier.
Blogging on a Chromebook

That black spot on the futon is Eva, the service dog we are training.

The black dog on the futon is Eva, the service dog we are training!

I was looking for a light, durable, inexpensive computer to take on bicycle tour. Chromebooks, netbooks, “regular” laptops, and tablets were all on my list of possibilities. I decided on a Chromebook (Acer C720, $199).

Pros:
Lightweight – less than 3 lbs
8.5 hrs battery life – or more, with the wifi off
Small for a laptop (but not as small as a tablet)
Solid-state drive – no moving parts means it is more durable and harder to break
Boots up in just a few seconds – because it only runs Chrome and its Apps
Inexpensive – only $199 on sale

Cons:
Only 16 GB hard drive – but it comes with 100 GB cloud storage
Can’t run Word or other programs – but Google docs works offline and syncs automatically
Larger than a tablet – but is compact for a device that has a full keyboard
No offline WordPress App – will have to use Google Docs offline, and then copy text into posts

Review:
After my first two weeks, I’m quite happy with my Chromebook. I’ll only need the Chrome web browser to be able to blog and check email while on tour, so having limited program functionality is not an issue. The cloud storage will compensate for the small local storage, and will have the added bonus of backing up all of our photos along the way.

When on tour, we’ll be camping a lot without electricity. The long battery life will be key – I didn’t come across any other tablets or computers that compared (without being much heavier). I’ll write posts using Google Drive offline, and can copy the text into WordPress to make posts when we have an internet connection. This computer will certainly be a great upgrade over writing emails on a ipod touch or using public computers at libraries.

Our Bikes: Surly LHTs

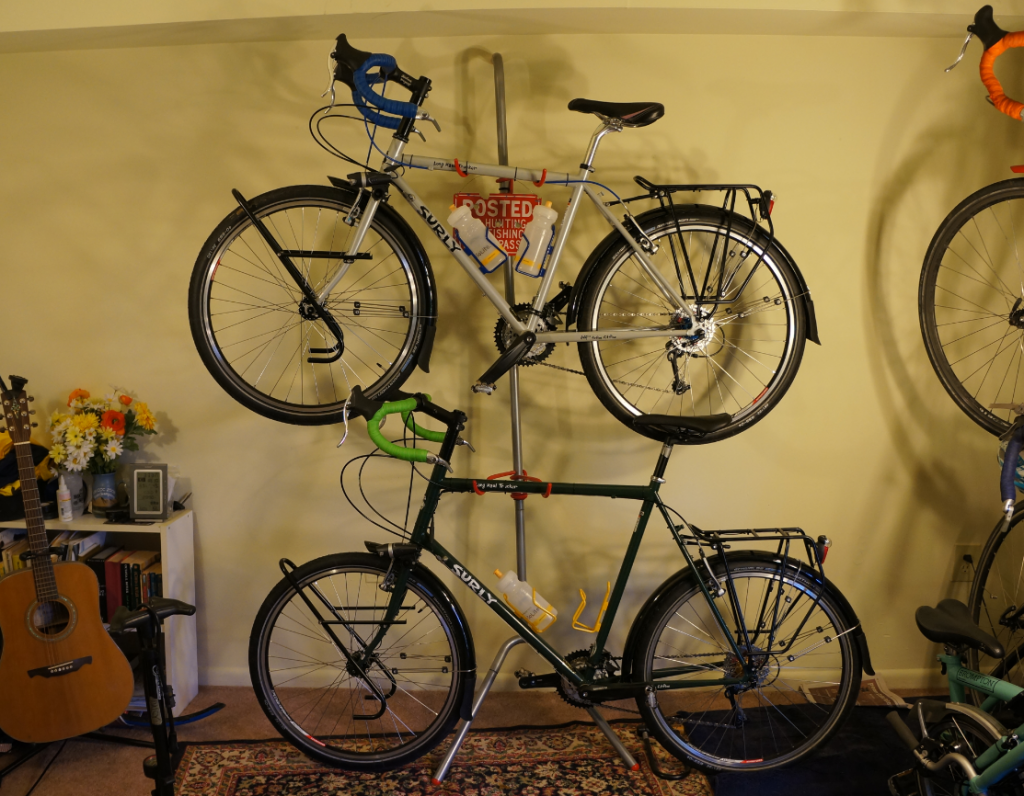
surly LHT

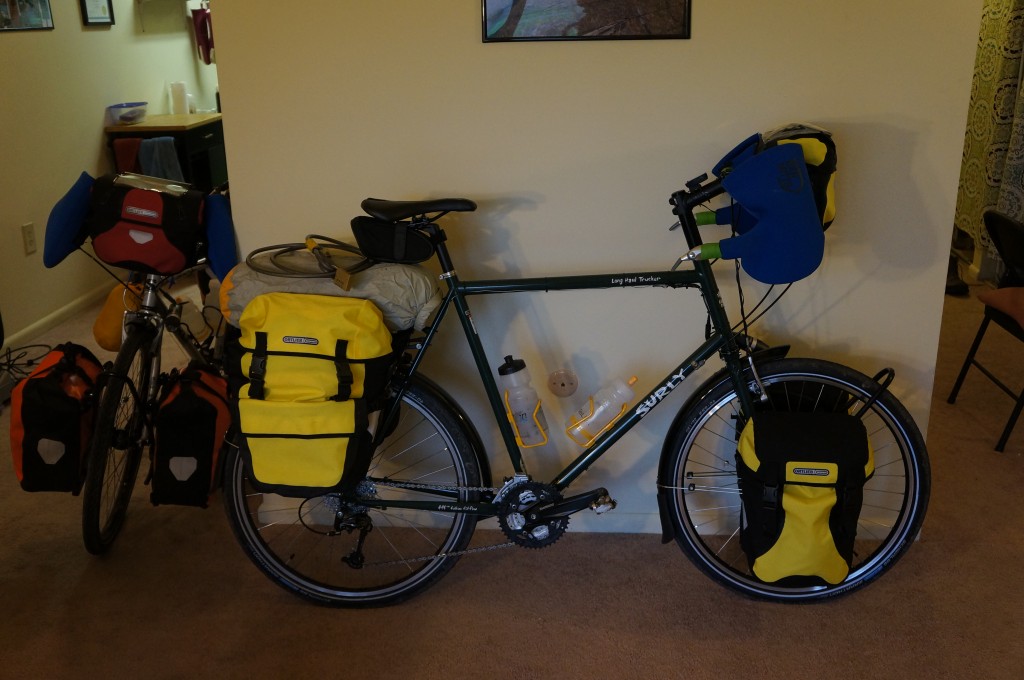
Our bikes currently live inside, but soon they will be outdoors 24/7!

This post is solely about our bicycles and their components. Read on to find out some gritty details.

Long Haul Truckers are a touring standard.

LHTs are a touring standard.

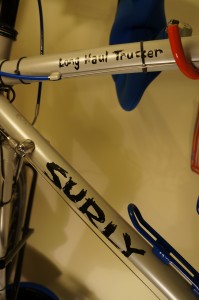
Frame: We chose to get Surly Long Haul Trucker (LHT) frames. Daisy has a 46 cm, and I have a 60 cm. Needless to say, we don’t fit very well if we try to ride each others’ bikes! LHTs are known in the touring community as very reliable. We wanted to go a little above and beyond the basic model to upgrade some components. Daisy likes to have things, as she says, “bomb-proof.” This will be useful so we don’t have to worry about maintenance mishaps in remote areas. The combination of various upgrades meant it would actually be easier to just custom-build the bikes starting from the LHT frame. Our local bike shop, Freeze Thaw Cycles was very happy to oblige.

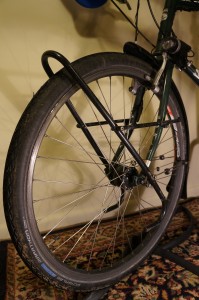
Wheels: We wanted sealed bearings, a dynamo hub, and extra sturdy wheels. Justin (from Freeze Thaw) made a custom build – with 36 spokes per wheel. We chose 26″ wheels because that is the standard size for bikes in Central and South America, which will allow us to get new parts as needed. Sealed bearing hubs allow for less maintenance.

Front wheel with Schmidt dynamo to light the LEDs

Front wheel with Schmidt dynamo to light the LEDs

Tires: We are big fans of Schwalbe Marathon tires. This line of tires lasts a loooong time, and they don’t flat easily. In the summer of 2012 we rode about 2500 miles without flats – border-to-border from Mexico to Canada on ACA’s Sierra Cascades route. Also, once we get out of the US and Canada, we expect all sorts of flat-inducing road hazards. I hear cactus needles are bad in Mexico…

Lights: We each got a Schmidt dynamo hub for electricity generation and LED front and rear lights. The rear Seculight plus light is on all the time to increase visibility (for safety). The front Planet Bike light has 3 settings: off, on, and blink. The LHT frame has a nicely positioned eyelet on the front fork so you can mount the front light easily. We’re excited about the lights because you never know when may be caught in the dark. In fact, they sure came in handy when we were cycle-touring the outer banks in late November!

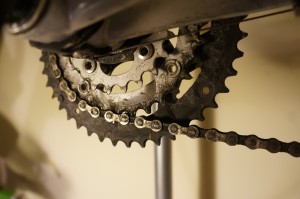
tiny chainringGears: We like it low for those steep hills while fully loaded for touring. Our smallest-largest chainring combo is 22-34, giving a ratio of 0.65. That means three pedal rotations are only 2 wheel rotations. Add that to the fact that the 26″ wheels are smaller than 700C wheels. What you have is a gear that is so low there is no question that walking is faster!

Racks: We went with something very sturdy – Tubus front and rear racks. The outer diameter of tubes on these racks is about 3/8″, and the front rack has a tube that is over 1/2″. That seems pretty sturdy to me. Plus, since they are made of steel, we can get a weld job south of the border, if for some reason they do break. (Note: Aluminum racks are not so easy to weld.)

Bags: Ortleib is the touring standard for waterproof cycling bags. We each have 2 front, 2 rear, a rack pack, and a handlebar bag. When you’ll be on the road for a long time, you end up carrying a lot of stuff. We also wanted space to store 2 or three bear canisters worth of extra food, cooking supplies, and other smellables for when we’ll be several days between towns in remote bear country in Alaska and Canada. We bought our bags from thetouringstore.com, which was relatively inexpensive, and chatting with Wayne to place your order is a riot. Of course we’ll have some bungee cords to strap on other items, as necessary.

Fully loaded bike, with a tent instead of a read rack pack.

Jason’s fully loaded bike, with a tent instead of a rear rack pack.

Honeymoon Recap (Outer Banks Tour)

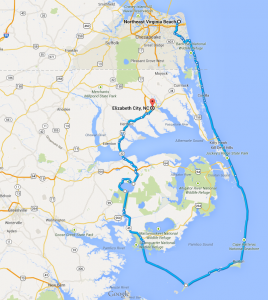
Loop through the Outer Banks of NC; 6 days of riding; 285 mi (460 km)

6-day Bicycle route through the Outer Banks of NC

Bicycle route through the Outer Banks of NC

The trip was a resounding success! We had a great time, our bikes worked well, and we had enough warm gear to keep us going. We saw some awesome sights, including lighthouses and the Wright Brothers National Memorial. And we had quite a few adventures, like getting picked up by the Currituck Sheriff on the beach highway, the Sisyphean sand plows, and the (almost) never-ending muddy wildlife refuge road.

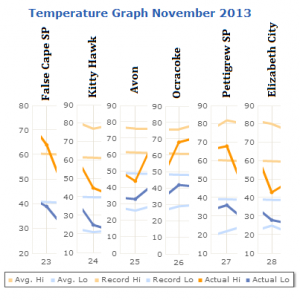
We knew we needed to head south from PA if we were going to have a pleasant bicycle tour in late November, but we were a little surprised by how cold the weather actually was in the outer banks!


Daily temperatures on our trip - colder than average!

Daily temperatures on our trip – colder than average!

On half of the days, the daily high was actually close to or below the average low. Brrr. But this ended up being useful, in the fact that we could test our cold-weather gear. We wanted to do this anyway, since we are planning to start in Alaska in May, and depending on the year it is chilly. We learned that we have enough warm things for our cores, but could definitely use a few items…


#1: Thin wool gloves – Our hands were warm inside the bar mitts, but wool gloves would have been better for wet conditions

#2: Neoprene booties – Our rain covers for our shoes did not hold up, and once our socks got wet our feet got cold. Good booties could remedy this problem by keeping out the cold and wind.

#3: Warm waterproof hiking boots – Our SPD-style riding shoes are actually summer shoes with a lot of mesh for breatheability and contain vents in the bottoms. These vents were great at letting in water! So, for those days that are both quite cold and really wet having some hiking boots would be great to keep our feet both dry and warm. Also, it would give us an extra pair of shoes when one is wet, and for hiking in general.

#4: Flat pedal attachments – We’ll need some pedal attachments to allow use of “normal” shoes if we wear our hiking boots when riding.

In other lessons learned… we definitely will be more careful with our use of Google Maps! There are a lot of roads on map services (and in GPSs) that are not very driveable – or rideable). This makes more of a difference when the road turns muddy, and the winter days are short. Speaking of which, this was our first winter-season tour, and we were caught off guard by how early it got dark! If we weren’t set up to camp by 4:30 or so we were in for a cold dinner — at around 5 PM it got dark.

The final lesson was that we need to get used to our new bicycles and the riding postures. I (Jason) started having knee pain part way through the trip, and it got so bad I couldn’t finish the ride back to Virginia Beach on the last day. We think it was brought on by a change in riding posture – our new bikes are set up to focus on the hamstring muscle group and pulling, as opposed to the quads and pushing – in combination with a lot of hard mashing into the wind. My knee is doing much better now, though, and this is good, since I commute via bicycle to work every day.

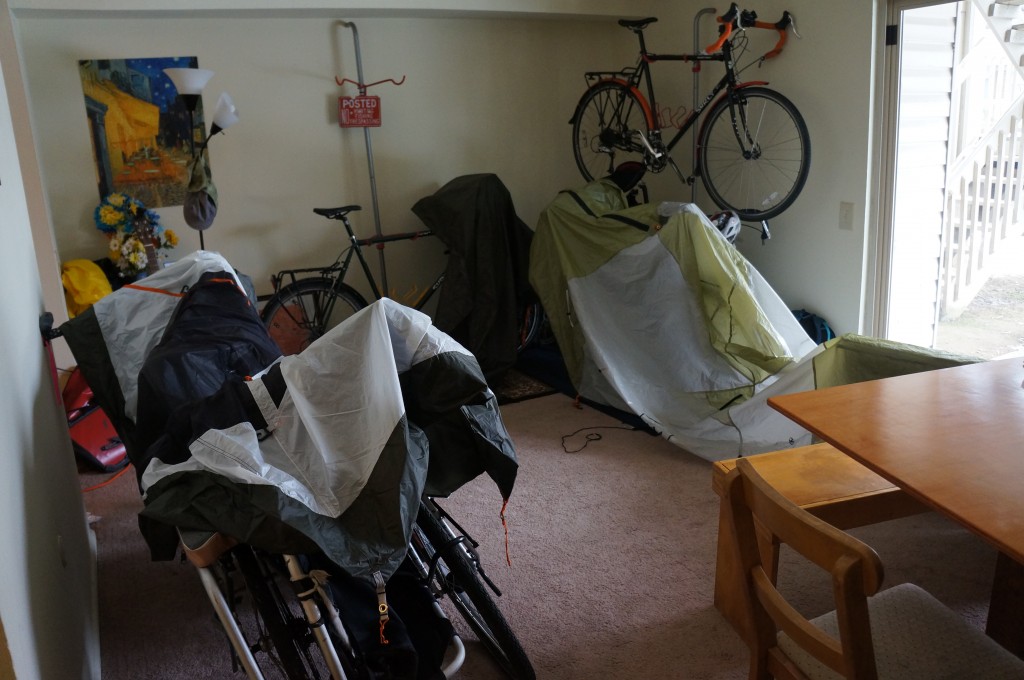
Drying the tent and rain fly.

Drying the tent and rain fly after returning home.